How to Make an Album Cover Online with Desygner
Are you interested in making an album cover for a Spotify playlist, album release, or mixtape?
Making an album cover is fun, even if you’re not particularly creative. With Desygner, it’s easy.
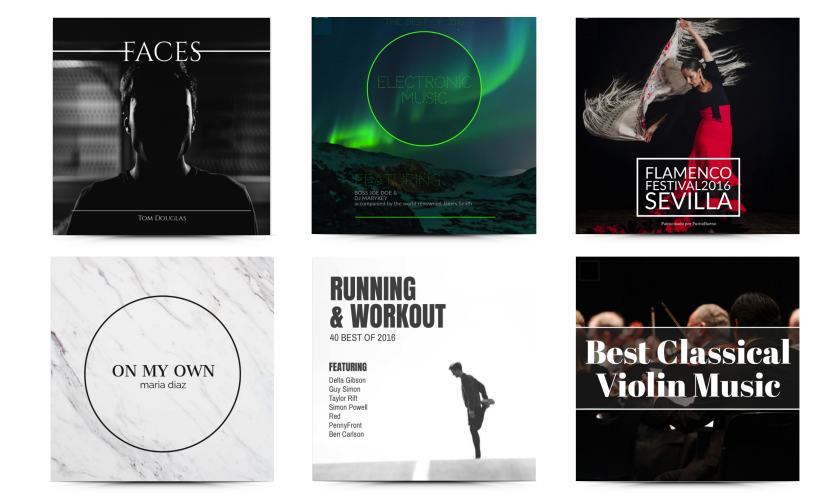
With the use of templates, making an album cover is simple and doesn’t require knowledge of design. Our huge range of templates can complement virtually any aesthetic, so you’ll definitely be able to find the best one that works for your album cover.
And it’s easy, with just five easy steps.
1. Choose the Perfect Album Cover Template for Your Design
To start your album cover, visit our album templates gallery page. In the left sidebar, scroll down to Album Covers. Select this and browse the templates that are available.
Design Always Matters!
You want your album cover to be extremely visually pleasing and eye-catching. If this kind of work isn’t your forte, don’t worry. Desygner has a ton of fantastic templates available for album covers that are fully customisable, so you can include the basic necessities and work off the template provided.
Once you’ve found a template that sparks some inspiration in you, it’s time to customise the template for your album cover.

2. Add The Title of your New Album on your Cover
Just like colours, the fonts you choose for your album cover can help communicate your band’s personality. You can edit any of the headers, subheaders, and bulk text within the template.
1. Start editing: edit any chunk of text within the template by double-clicking it.
2. Choose a font: select the font drop-down menu to choose a font.
3. Change your font colours: select the font and edit the colour of text through the fill Colour icon.

3. Play with Some Images for an Eye-Catching Effect in Your Album Cover
Now it’s time to get visual with some images. Musicians commonly utilise photography, especially of the band or primary artist, but almost anything is possible, from abstract graphics to drawings and collages.
1. Add your own images. Navigate to images/add.
2. Browse our image library. Find new royalty free textures, images, and graphics to insert onto your album cover. You can browse thumbnails or use the search function.
3. Adjust your images. Drag, tilt, and resize the images you chose for your template.
4. Insert an Icon or Graphic into Your Album Cover
Icons can really bring some depth to an album.
1. Browse for icons. Browse our library of royalty-free icons via the Icons button. Under Stock, browse icons by thumbnail or via keyword search.
2. Choose and customise your icon. Select an icon to insert it into your draft and change the position and size of the icon. You can also change the colour of the stock icon by selecting Fill Colour.
3. Upload your own icons. Upload PNG icon files via the Images tab. Note: You can’t change the colour of these icons once inserted into your project.
With a Premium account, you can upload icons in SVG format. The colour of SVG images can be changed within the platform.
5. Download & Share Your Album Cover With the World
Select the Download button at the top right corner of the editor.
1. Select “Download”. You’ll find it in the upper right-hand corner of the editor.
2. Choose: Jpg or PDF.
3. Select Start Download and you’re finished!
Remember that printing your design will depend on your needs. You can do it through a professional printer (don’t forget to download your file as a PDF for printing), or print them at home yourself.

Are you excited to start crafting an eye-catching album cover with Desygner?
Show off the album covers you’ve made with Desygner in the comments section below!


