How To Create A Flyer
How many times have you stopped to read a cool flyer because its design caught your eye? How often has that inspirational flyer led you to purchase something you previously wouldn’t have?
By following the following flyer design steps below, you too could make your clients feel that same need to go and buy your products or services – without needing to hire a graphic designer!
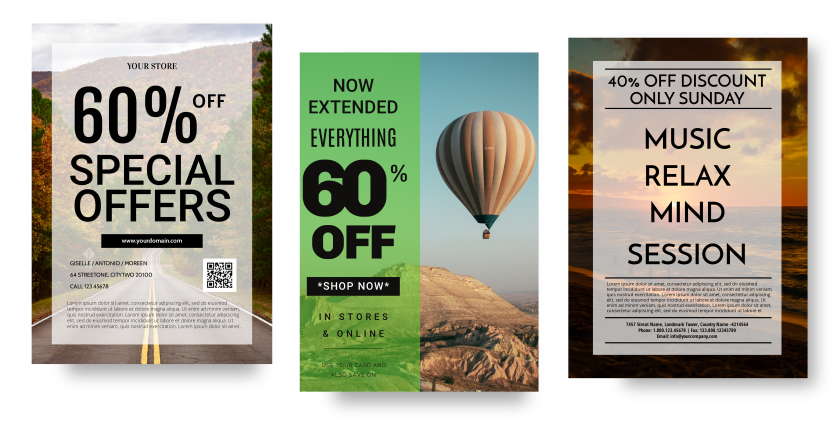
1. Choose the flyer templates that best fit your idea
Time to choose your flyer template!
Choosing templates is a key step. The design of your flyer will depend on many factors, including the content that you need to add, the style of business you have and what you would like to convey through it.
We assume that you’ve worked beforehand on the content of your flyer and that you have all the information ready to go.
Dedicate some time to choosing the flyer templates that you like most and that best fit your needs. All the templates are organized by size, so you won’t have to worry about dimensions.
2. Edit the default text and add your flyer content
Let’s transform the template into your personalised version!
Every flyer template is editable and best of all, it’s easy to do. It’s so easy that you could have a flyer customized to your business’ requirements within minutes.
Edit the default text and add your flyer content by following these two steps:
- Double click on the text you want to edit.
- Type in your own information.
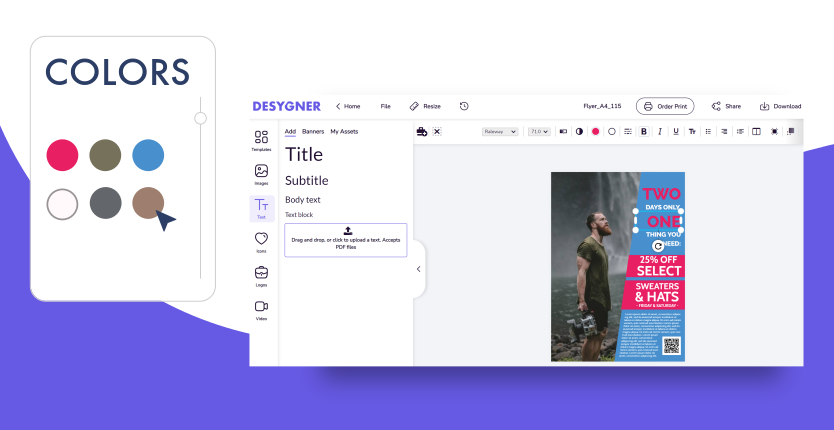
Change the color of the text
If somebody takes the time to look at your flyer, the least you can do is make it readable! Get a good contrast between the text and the background. For example, if the background is light, it should be coupled with a dark text. On the other hand, if the flyer background is dark, your text should be light-colored.
- Select the text that you would like to change colors.
- Click on “Fill Color” in the toolbar (the colored circle).
- Choose the color of your business or one you like best for your design.
3. Choose from hundreds of fonts
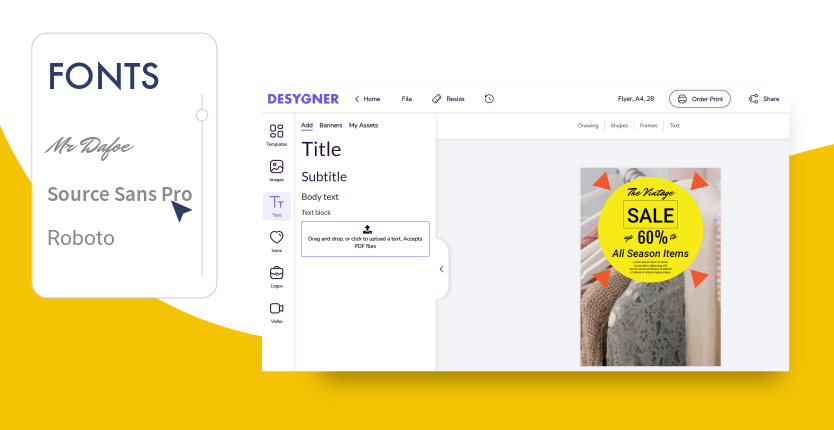
Sometimes choosing fonts isn’t so easy. Whether choosing fonts for flyers or another purpose, the font should fit your brand image. Depending on if your business has a formal image or instead targets young people, you will choose a completely different font.
Keep in mind that you need to attract the reader and make him/her your next client. If you’re not sure about what fonts to use, play it safe and use simple fonts since they’re the most effective. Desygner gives you access to a wide variety of good fonts for flyers to add the characteristic touch of your organisation or company.
- Select the text.
- Click on the drop down box in the toolbar that says the current font name.
- View the preview of each font and choose the one you like best!
If you need to, add extra text to your flyer
What if your template doesn’t have enough text for your liking? No problem! Add all the extra text you need.
To add additional text to your flyer, you just have to:
- On the main menu, Click on “Text.”
- Choose an approximate size: Title, Subtitle or Body.
- The text will appear in your design.
- Click on it to edit.
4. Thousands of free images for flyer design
Make sure that every image you choose to add to your flyer is high-quality, in order to capture your readers attention!
Replace existing default images with professional images that you can find in the integrated image bank. To do this:
- Select the photo you want to replace.
- Click on the “Remove” button that appears in the toolbar.
- Select the images button and move to “Stock” tab.
- Look up images by typing keywords into the magnifying glass that appears.
- Click on the one that you like best.

Personalize your flyer by adding your own images
We know that there are some businesses that need to use their own images. For example, to show their own products this season, whether special dishes or whatever the product may be. Showing images of your product or business will give your future clients confidence in you, but don’t forget to use professional images.
Contact a professional photographer if necessary. Once you have your images, import them to Desygner with just a few clicks. To do this:
- Click on the “Images” button.
- Select the “Add” tab.
- Select the “Click to upload an image” button.
- Now choose the photo from your phone image gallery.
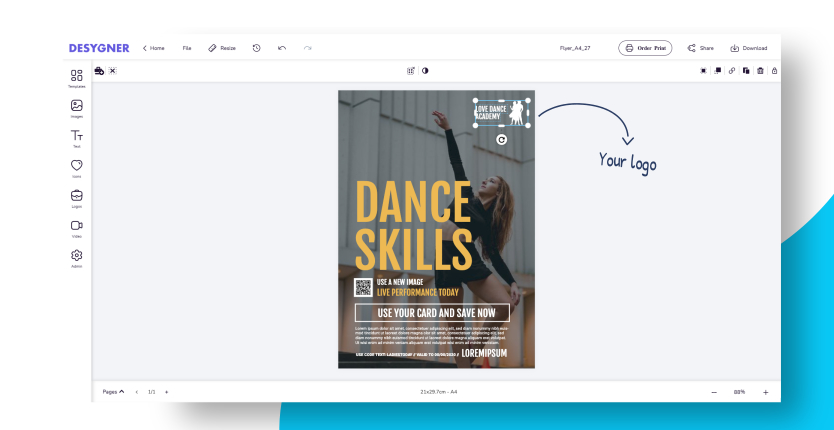
5. Add your business logo to your flyer
The logo is the main image of your company. With it, clients will relate your flyer with your product, service or business. For this reason, the logo should always appear on flyers that you design.
Place the logo strategically and above all, in a clean area with space around it. This will make your logo memorable. To make your logo fit on your flyer professionally, don’t forget to upload your file as a PNG format (transparent background).
The process of adding your logo is the same as adding any other image.
6. Share your flyer with your future clients!
After making a flyer, it’s time to reach out to everybody!
Your first option is to post your flyer on the internet or send your design to people via email, direct messaging services etc.
You just have to:
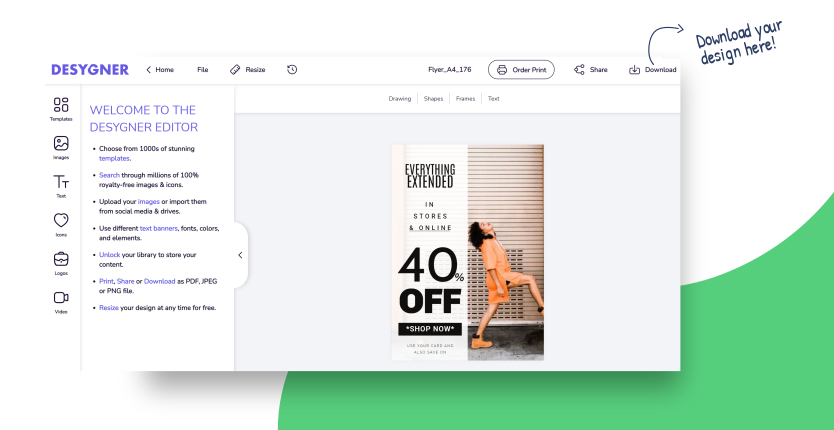
- Click on the “Download” option.
- Choose where you would like to share your new flyer. (Twitter, Facebook, Instagram, WhatsApp…)
- You can also share it using a link.
- Or download it directly to your device.
7. Print Your Design Now!
Digital printing is available directly from within Desygner!
Once you are satisfied that your design is ready to go, all you have to do is click the ‘Order Print’ button in the top right-hand corner.
Then you can sit back, relax and wait for your professionally printed designs to be delivered straight to your door.
Access and Edit your flyer whenever you want
When you rush to make a flyer design, it can lead to mistakes that are often difficult to fix as quickly as you made them.
The Desygner app lets you save progress at any time and undo any action that you want without wasting time or content. Something so simple can be a lifesaver, so that you don’t lose a single second.
Now that you know how to make a flyer, sign up and start to create flyers that grab the attention of your clients. Let’s start designing!
- 290
- 311shares
