
7 Photo Editing Tips To Improve Your Images
We’re living in the age of visual content. The old saying, “A picture is worth a thousand words,” is more accurate than ever. According to scientists, our brain processes images 60,000 faster than text. Marketers know this and have started using more images in their campaigns. So, we’re here to give you photo editing tips that will help you attract new customers.
With that said, we don’t need to stress that images are extremely important and have a lot of impact on the success of your business. Have you ever come across an online shop selling great products, but when you open the website, you simply stop browsing because the images are dull, flat, or way too basic?
Eye-catching images evoke stronger emotions and make customers more prone to buy your products or services.
That’s why it’s important to learn how to edit your photos. An online image editor such as Desygner can work on any device —whether it’s a desktop, tablet, or the best laptop for photo editing on a budget.
So, in this article, we will cover seven simple photo editing tips to help you improve your photos in just a few clicks.
7 Simple Photo Editing Tips to Improve Your Images
Want to make your images look stunning without any Photoshop or professional photo editing skills? Desygner makes it possible! Here are our 7 simple photo editing tips to improve your images.
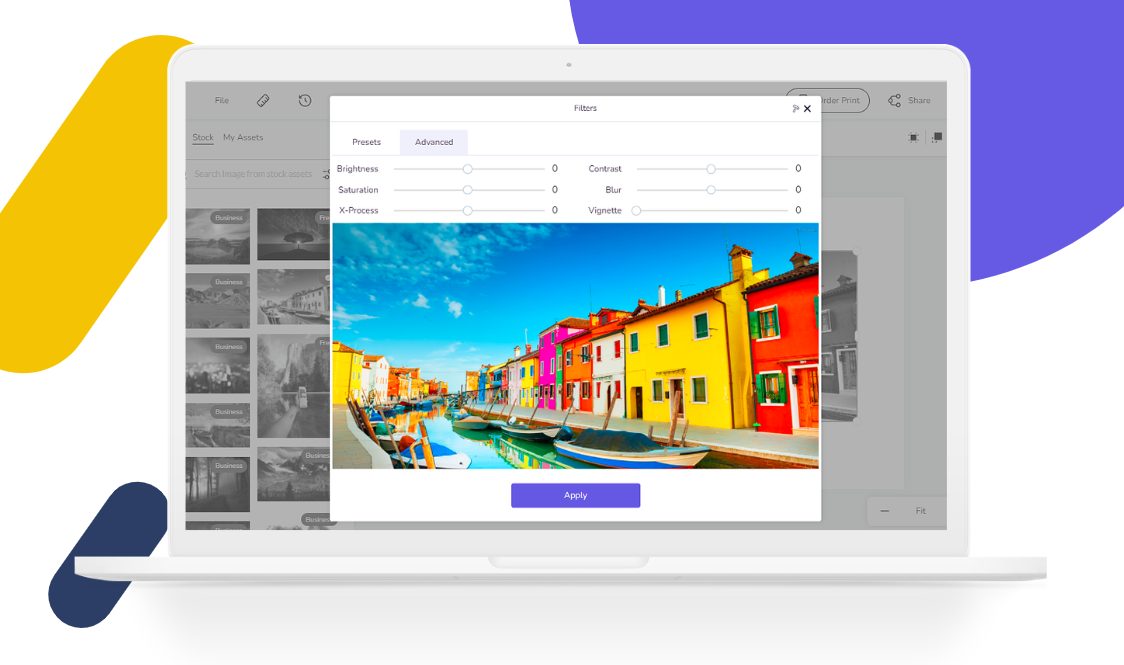
Tip #1: Create a Blurred Background Effect
Blurred backgrounds are a great way to draw the viewer’s eye to the subject in an image. A blurred background creates a sense of depth and space. It also separates the subject from the background and helps to make it stand out more.
This effect can be achieved using a wide aperture setting on your lens. However, if you don’t have a professional camera or you’re using a stock image, just upload your image to Desygner’s editor, go to the Advanced Filters option, and adjust the blur slider to your liking.

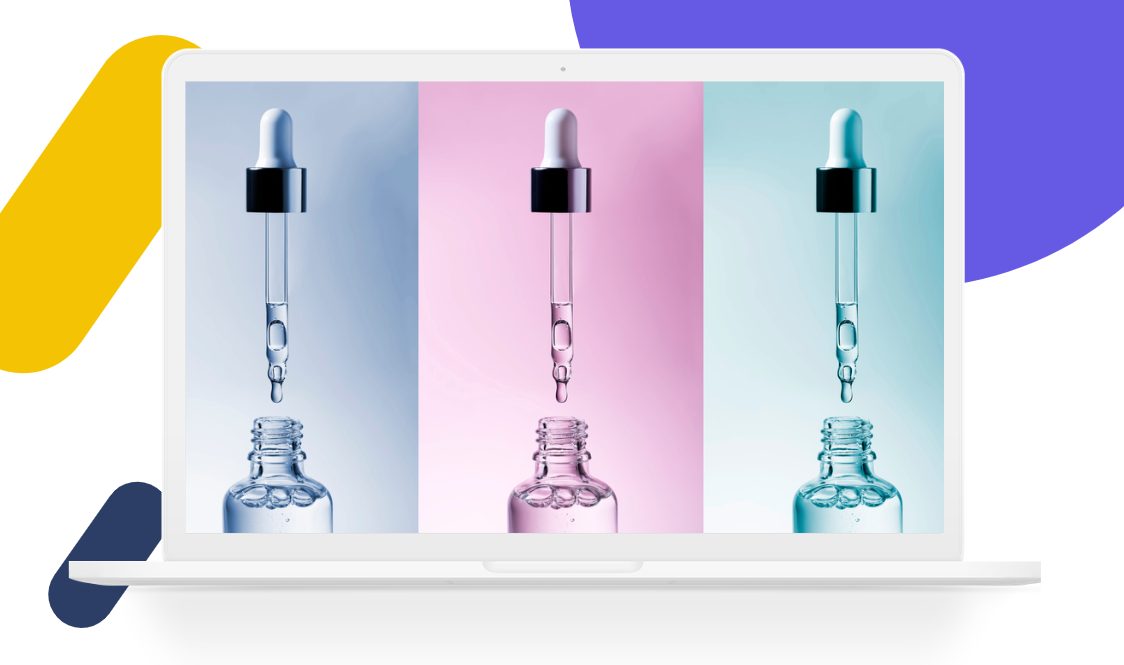
Tip #2: Adjust Saturation
Another excellent way to have your images achieve the look you want is to adjust the saturation. In photography, saturation is the level of the vividness of a color. It’s what makes red really red and blue really blue. Saturation can make your photos look more intense or muted, depending on how much of it you apply.
It’s also great for changing the mood of your image. For example, a desaturated image will look more dramatic, while an oversaturated image will look more childlike and innocent.
To change the saturation of your image, upload it to Desygner’s editor, go to Advanced Filters and adjust the saturation slider.

Tip #3: Adjust Brightness & Contrast
The most obvious and easy way of enhancing your images is by adjusting their brightness and color. You’ll be amazed at just how much of a difference these two adjustments can make to an otherwise dull photo!
But what exactly are ‘brightness’ and ‘color’ in photography? Brightness describes the amount of light in an image. If you increase the brightness, you will see more light and detail. If you decrease it, the image will become darker. On the other hand, color describes the hue (red, blue, etc.) or saturation (vividness) of a certain area in the image. So, for example, if you want to make the red tones of a picture look more orange, you can adjust the red hue to make it happen.
In Desygner, you’ll find both of these adjustments in the Advanced Filters panel in the editor.

Tip #4: Use an Overlay
Overlays (or layering) are a great way to add visual interest and texture to your images without applying too many effects or filters. A photo overlay is a texture, an image, or a color placed over the background layer of a photo. You can use overlays to create mood and ambiance or simply highlight a particular element of your image. It’s also a really cool way to create double exposure effects or watermarks using text or graphics.
To create an overlay in Desygner, go to the Advanced Filters tab in the top panel and adjust the opacity until you achieve the desired transparency and effect.

Tip #4: Add a Frame
Adding a frame to your photo can help it stand out from the crowd, especially if it is going on a website with many other images on the page. There are many different styles of frames available in Desygner’s editor, from thin and simple borders to more creative options.
To add a frame to your image in Desygner, simply choose one of the frames from the Frames section in the top panel and place your image inside of it. The image will adjust automatically to fit the frame. You can also manually reposition your image by double-clicking on it and dragging it to where you want.

Tip #5: Edit with a Preset
Presets (or filters) are great for changing the mood of an image without much effort. Desygner has some stunning filters available, all easily applied with a single click. At the moment, you can choose from our eight different presets: Cali, Drama, Edge, Epic, Festive, Grayscale, Nordic, Street, and The Blues.
Once you select the preset you like the most – and one that conveys the mood you’re trying to achieve with your image – you can edit it further by adjusting different parameters, such as saturation, contrast, and brightness, to get exactly the look you want.

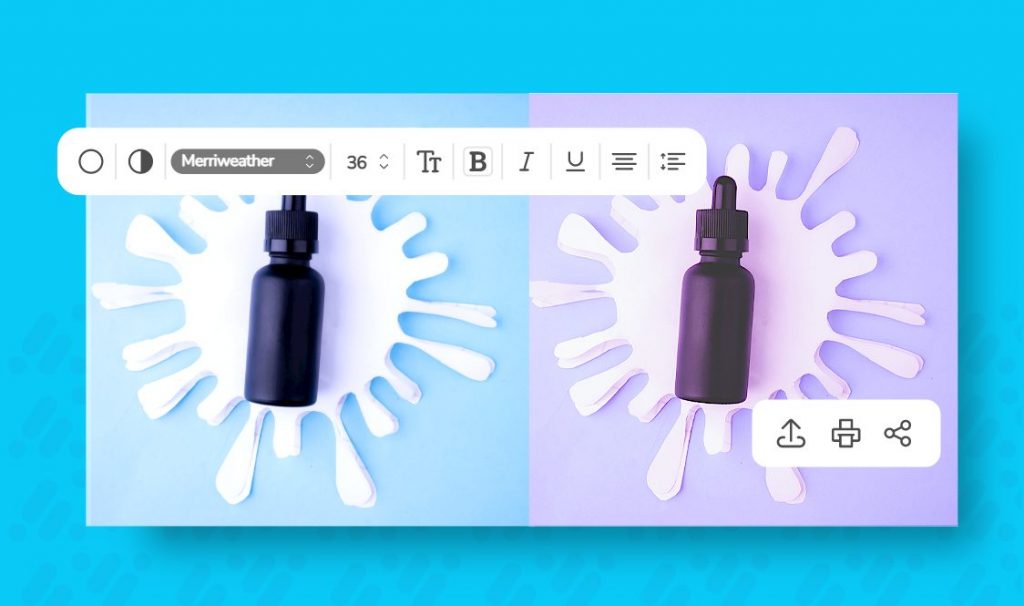
Tip: #6: Add Text
Adding text to images is one of the photo editing tips that can make an image stand out from the crowd. It’s also an opportunity to brand your photos, add your individual touch, or get a message across. It’s up to you how creative you want to get with it!
However, two main things to pay attention to when adding text to your images are the fonts, colors, and size. Make sure to match the colors and the fonts with the overall mood of the image unless you’re going for a completely chaotic and contrasting look (which is fine, as long as it is artistic chaos!).
To add text to your image in Desygner, simply choose the Text tool from the top panel.

Related Article: Add text to photos with Desygner for free
Improve Your Images with Desygner
To edit your images, you can use a desktop program or an online image editor. There are plenty of both to choose from, but if you’re looking for something web-based, Desygner offers a full-featured photo editor that’s easy to use and offers plenty of advanced design tools!
Desygner helps you edit photos, create graphics, and design social media posts in minutes. All you have to do is simply drag, drop and click! We aim to make graphic design easy for non-designers so that everyone can create stunning, professional-looking graphics. Follow Desygner on Facebook, Instagram, Linked-in, and YouTube for more tips!
Unlock your free access to Desygner Pro+


